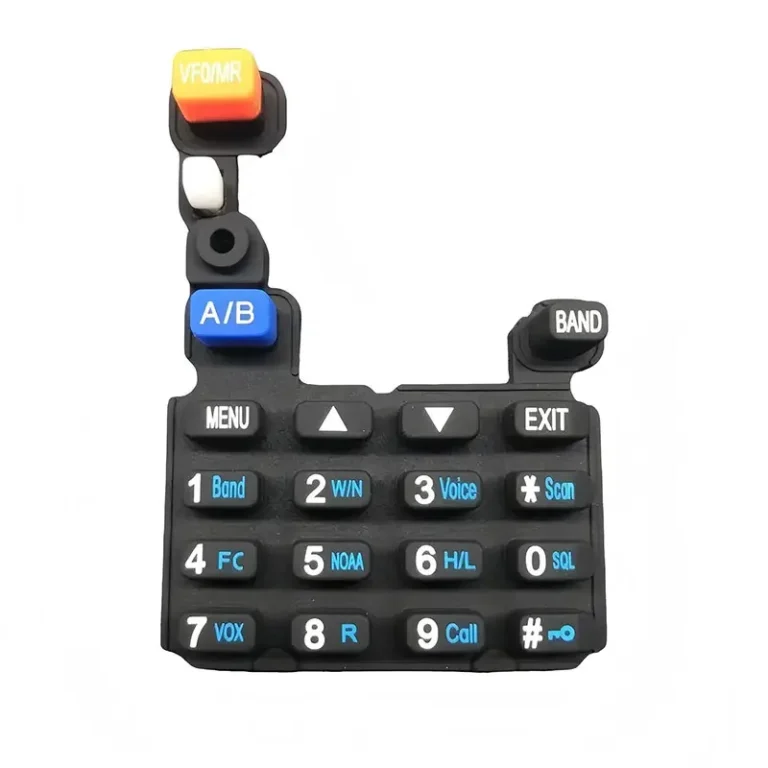
Bringing a custom control interface to market means turning a drawing into a part that feels right under the finger, fits the enclosure, and can be made the same way a million times. For teams specifying input hardware, the gap between a CAD file and a stable production line is where most cost and schedule risk lives. A custom silicone keypad is a deceptively simple component, yet small choices in material, tooling, and process compound into large differences in unit price, lead time, and field reliability.
A custom silicone keypad moves from concept to volume through four gates: prototyping, mold build, first-article validation, and scaled production. Getting the prototype right is what keeps later tooling changes cheap, and choosing the molding process early sets the cost curve for the whole program.
The sections below walk through each stage so you can plan a program that hits its cost, feel, and quality targets without surprise rework.
Why prototyping comes before mass production
Prototyping with real silicone turns design assumptions into testable parts before any production mold is cut, which is the cheapest point to find flaws.
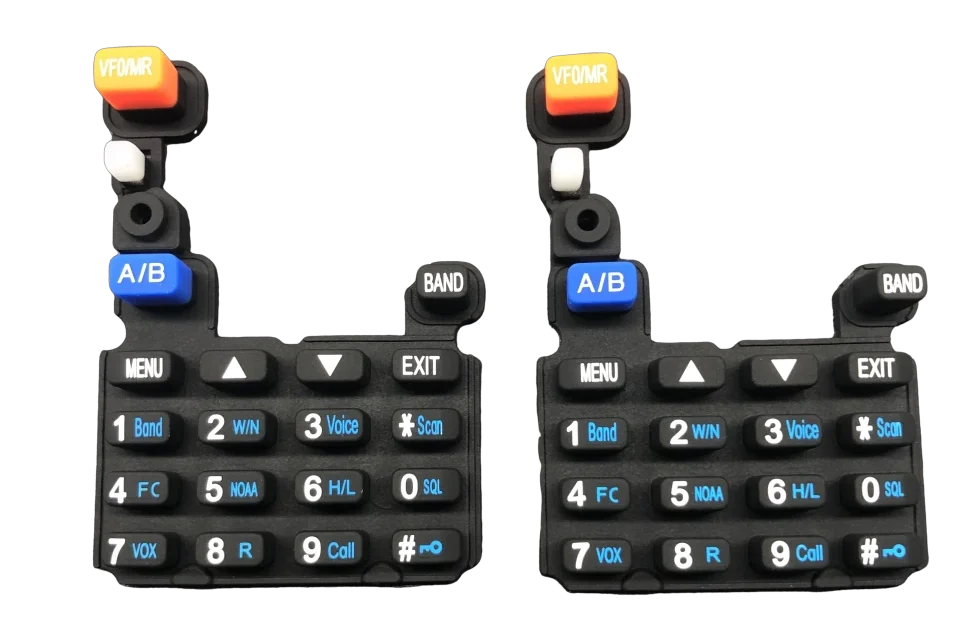
A prototype is not a pretty render. It is the first time the key shape, wall thickness, and actuation force exist as a physical part you can press. Early samples let engineers check travel, rebound, and the snap feel of each key, and they let the assembly team confirm the keypad seats against the housing and lines up with the PCB or dome contacts. Finding a 0.3 mm web that is too thin, or a key that needs 300 g instead of 180 g to actuate, costs almost nothing to fix at this stage. The same change after a hardened steel mold exists can mean a new cavity and a new tooling investment.
Prototypes also settle questions that drawings cannot answer. Color matching, surface gloss, and backlight clarity only read correctly on a molded part. User testing on a real sample catches ergonomics issues that survive every simulation. In short, the prototype is where the product proves it works, not just that it was drawn.
The cost logic is simple. A design change at the prototype stage is a sketch and a revised soft tool. The same change after production tooling is a new steel cavity, a new lead time, and often a stop on the line. Teams that skip prototyping to save a few weeks usually pay for it later in tooling revisions and slip launch dates. A short validation loop is cheaper than a wrong assumption baked into hardened steel.
How prototyping works in practice
Most programs use a mix of fast, low-cost prototype routes, then graduate to a prototype mold once the shape is settled.
Routes from sketch to sample
The fastest path is a CNC-machined or laser-cut silicone part, made without any mold. It reproduces key geometry and web thickness well enough to check fit and ergonomics in days, though the tactile feel is approximate and the per-part cost is high. For something closer to production, a soft aluminum mold or a 3D-printed mold can run dozens to a few hundred parts in the actual silicone compound, which is enough for user trials and assembly checks.
When the design is stable, a dedicated prototype mold in aluminum or soft steel produces parts that match final material behavior. These tools cost far less than production molds and can be modified quickly, which makes them the right choice for design refinement before you commit to hardened steel.
Each route answers a different question. A cut part answers whether it fits. A soft mold answers whether it feels right and seals. A prototype mold answers whether you can make a few hundred that match the spec. Matching the route to the question avoids paying production-tool prices for a fit check and avoids trusting a render for a feel test.
Choosing a molding process: compression vs. LSR injection
Compression molding suits larger or moderate-volume parts at lower tooling costs, while LSR injection fits thin-wall, high-precision, high-volume runs and overmolding.
Process comparison
| Factor | Formpressen | LSR injection |
| Cycle time | 90 to 300 seconds per shot | 20 to 90 seconds per shot |
| Typical tolerance | plus or minus 0.1 to 0.15 mm | plus or minus 0.05 mm |
| Minimum wall thickness | around 0.3 mm | around 0.15 mm |
| Tooling cost | Lower | Higher |
| Am besten geeignet für | Mid-volume, large mats | High volume, thin walls, inserts |
Compression molding presses a pre-weighed silicone preform into a heated, closed mold. It is forgiving on material choice and the cheapest to tool, which is why it remains common for control panels and industrial keypads. Liquid silicone rubber (LSR) injection pumps a two-part liquid into a closed, temperature-controlled mold. The automation gives tighter tolerance, flash-free parts, and the ability to mold directly over plastic or metal inserts, which matters for sealed, backlit, or miniaturized designs. The right pick depends on volume, precision, and whether the part needs overmolding.
Material form also differs between the two. Compression molding uses high-consistency rubber (HCR), a firm gum-like stock milled with pigment and cure agent, which suits a wide range of fillers and colors. LSR arrives as a two-part liquid dosed automatically, which is why it scales cleanly and keeps batches consistent. The compound choice and the molding method are decided together, because each one sets what the other can do.
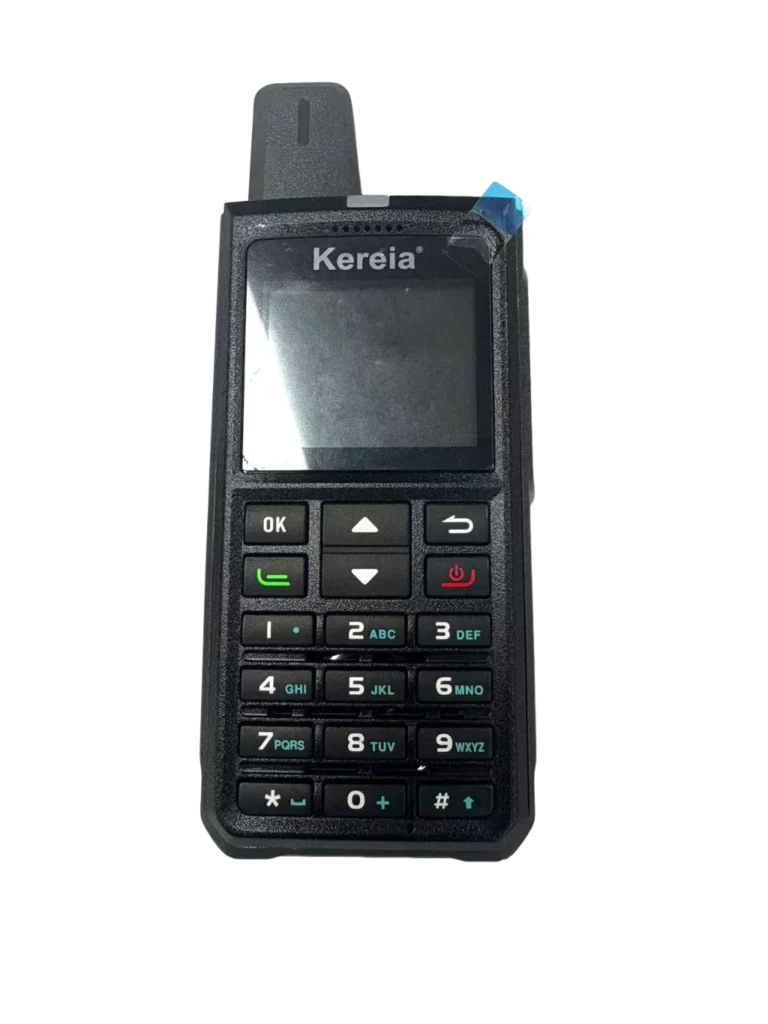
Tooling strategy from prototype to production mold
Tooling scales in three tiers, and moving up tiers only pays off once annual volume justifies the mold investment.
Mold cost and lead time by tier
| Tier | Material | Typical cost | Lead time | Lifespan |
| Prototype | Aluminum or soft steel | $800 to $6,000 | 2 to 4 weeks | Hundreds to low thousands of shots |
| Bridge | Hardened steel, low cavity | $6,000 to $15,000 | 4 to 8 weeks | Around 50,000 shots |
| Production | Hardened steel, multi-cavity | $8,000 to $20,000 plus | 8 to 16 weeks | 1,000,000-plus cycles |
A single-cavity prototype mold is the economical start for validation. As volume climbs, multi-cavity hardened steel pays back through lower per-part cost and steadier cycle times. Cavity count, part complexity, and the steel grade all move the price, so the tool should match the program’s real volume rather than a hoped-for ceiling.
Mold design details matter as much as the tier. Draft angles of one to three degrees let parts eject without tearing, micro-vent channels let trapped air escape for clean fills, and cavities are sized larger to offset silicone shrink of roughly 1.5 to 3.5 percent. These choices are locked when the steel is cut, so they belong in the prototype review, not the production panic.
First article inspection and design validation
First-article inspection confirms the production-intent mold makes parts that meet hardness, feel, color, and fit before full runs begin.
The first shots from the finalized mold are measured, not just looked at. Hardness is checked on the Shore A scale, a measurement defined by ASTM D2240, so results are comparable across suppliers and batches. Technicians also verify actuation force, rebound, color against the approved master, and the keypad’s fit with electronics and housing. Where a parameter drifts, the molder adjusts cure time, pressure, or gate location rather than reshaping the tool.
This gate protects the budget. A correction here costs a parameter tweak; the same defect found after 100,000 parts shipped means a recall or a rework line. First-article approval is the handshake between engineering and production.
The output is a record, not just a sample. A first-article report pairs measurements with the drawing, lists the approved color master, and captures the molding parameters used. That document becomes the reference for every lot thereafter, so a buyer or auditor can confirm the production part matches the validated one. Without it, “looks the same” is the only check, and that fails under volume.
Scaling from pilot runs to mass production
Pilot runs prove the process; mass production is about holding that process steady across thousands of shots.
A 500-piece pilot on a dedicated mold is enough to validate assembly and early field use. Moving to volume adds multi-cavity tooling, automated dosing, and in-line inspection so that part 100,000 feels the same as part one. Lead time typically runs two to three weeks for prototype-phase tools and four to six weeks for full production orders, with larger batches earning more consistent material lots.
The discipline that matters at scale is repeatability: documented process windows, lot traceability, and inspection at set intervals. A capable silicone keypad manufacturer treats the pilot as the template and the production line as its copy, not a fresh start.
Sealing and environment are part of the scale decision. A keypad that must reach IP67 or IP68 depends on the perimeter rib and housing working as one seal across millions of cycles, not just on the first dozen parts. Validating the seal at pilot, then holding the web thickness and cure window at volume, is what keeps the rating real in the field.
Finishing, coatings, and functional options
Surface finish, legends, and contact method are selected per application, and each option trades cost against durability or function.
Coatings, legends, and contacts
A molded part can ship as-is, but most keypads get at least one secondary step. Screen printing or laser etching places legends; laser etching paired with a translucent keypad and LED creates backlit icons that never rub off, which is why a backlight silicone keypad often uses this route. Protective coats range from matte PU for abrasion resistance to epoxy for a glossy, hard dome feel and parylene for chemical-heavy environments. Conductive switching uses carbon pills for cost-effective, reliable contact or gold-plated pills where resistance must stay very low. A silicone keypad cover or sealed mat can also reach IP67 or IP68 when the perimeter rib and housing are designed as one seal.
Not every option belongs on every part. A medical or outdoor device may need an antimicrobial or chemical-resistant coat, while a simple appliance key may need only a printed legend. The rule is to specify what the use case demands and skip the rest, because each layer adds a fixture, a cure step, and a point of variation. A silicone keypad cover built for harsh duty earns its coatings; a benign-environment key does not.
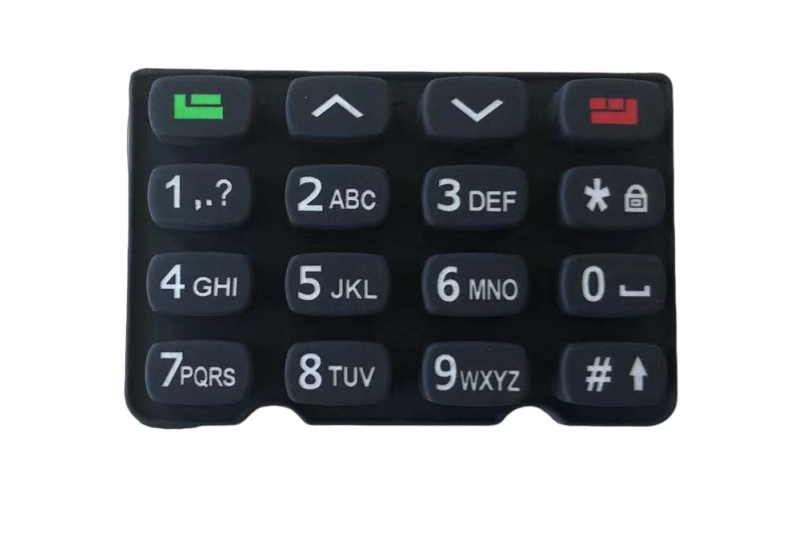
Cost drivers and how to budget the program
Tooling is the largest upfront cost, but unit price falls sharply with volume and smart option choices.
Cost impact matrix
| Lever | Lower cost | Higher cost |
| Mold type | Single-cavity aluminum | Multi-cavity hardened steel |
| Material | Standard silicone | Medical or conductive grade |
| Printing | None or molded-in | 4-color plus in-mold |
| Kontakt | Carbon pill | Gold-plated pill |
| Lighting | None | LED plus light guide |
Tooling dominates at low volume and fades as a per-part factor once runs past tens of thousands. The practical ways to lower a quote are to simplify geometry, cut color count, accept a standard hardness, and only add backlighting or special coatings where the application needs them. A transparent quote breaks tooling, per-tier part price, and secondary operations into line items, so design trade-offs are visible before tooling starts.
Volume is the lever that moves everything. Below a few thousand pieces, tooling dominates the unit price, and small runs look expensive by nature. Past tens of thousands, the same tool spreads thin and per-part cost falls, which is when multi-cavity steel and automation earn their higher upfront price. Budget the program at the volume you will actually ship, not the volume you hope to reach.
Häufig gestellte Fragen
How long does it take to go from prototype to mass production?
A typical program runs four to eight weeks from CAD release to first production parts, with mold fabrication taking most of that window. Prototype tools can be ready in two to four weeks, while hardened production molds run eight to sixteen weeks. Volume ramp adds another four to six weeks of pilot and validation depending on test requirements.
Compression molding or LSR injection: which should I choose?
Choose compression molding when volumes are moderate, parts are large, or the tooling budget is tight, since it has the lowest setup cost. Choose LSR injection for thin walls, very tight tolerance, high volume, or when the keypad must be molded over a plastic or metal insert. The decision should follow your annual volume and precision needs, not a general preference.
How much does silicone keypad tooling cost?
Prototype molds usually range from about $800 to $6,000, bridge tools from $6,000 to $15,000, and hardened multi-cavity production molds from $8,000 to $20,000 or more. The final price depends on cavity count, part size, geometry complexity, and steel grade. Per-part price then drops as volume rises, often by half or more between a 5,000-piece and a 100,000-piece order.