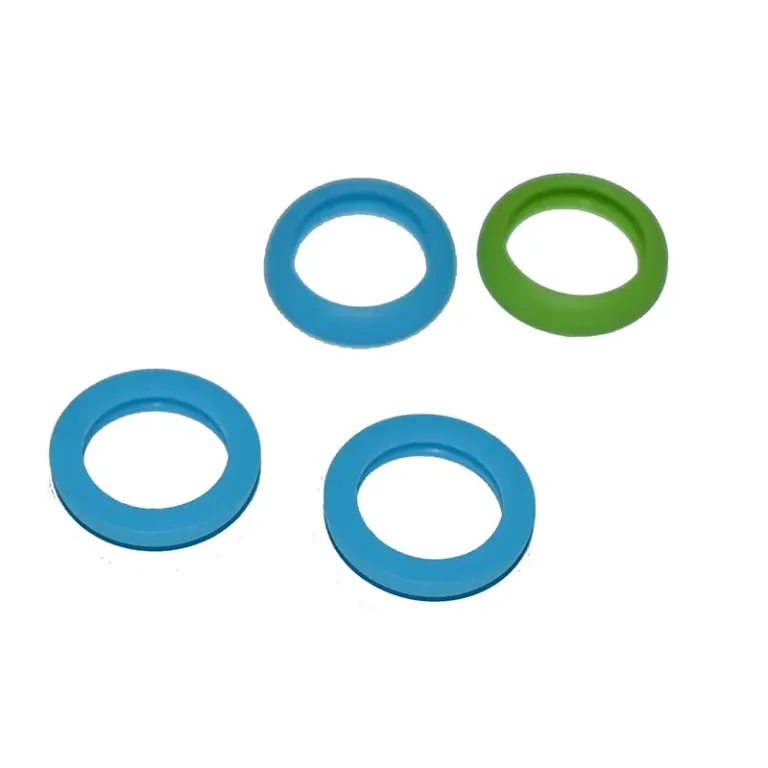
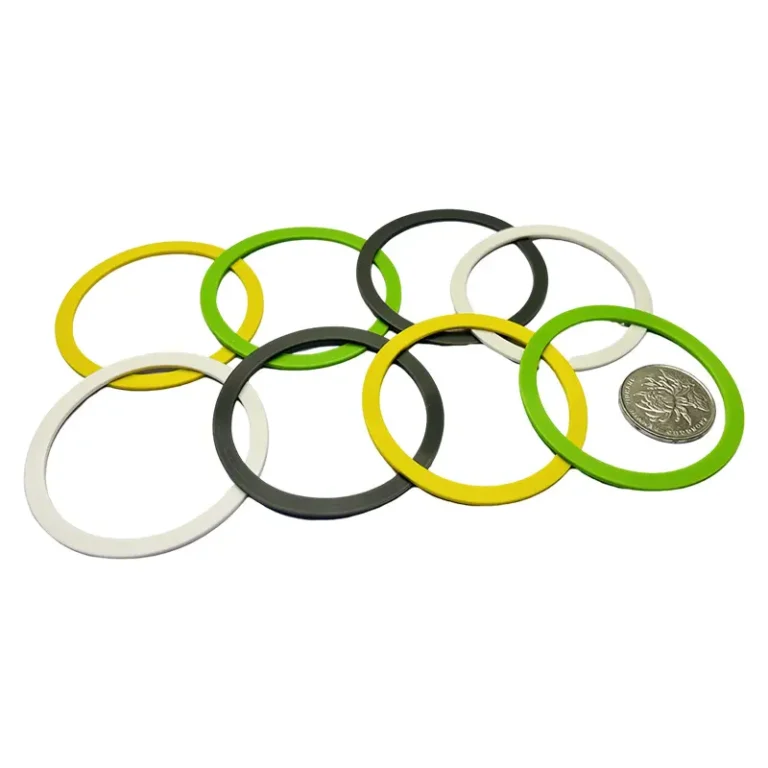
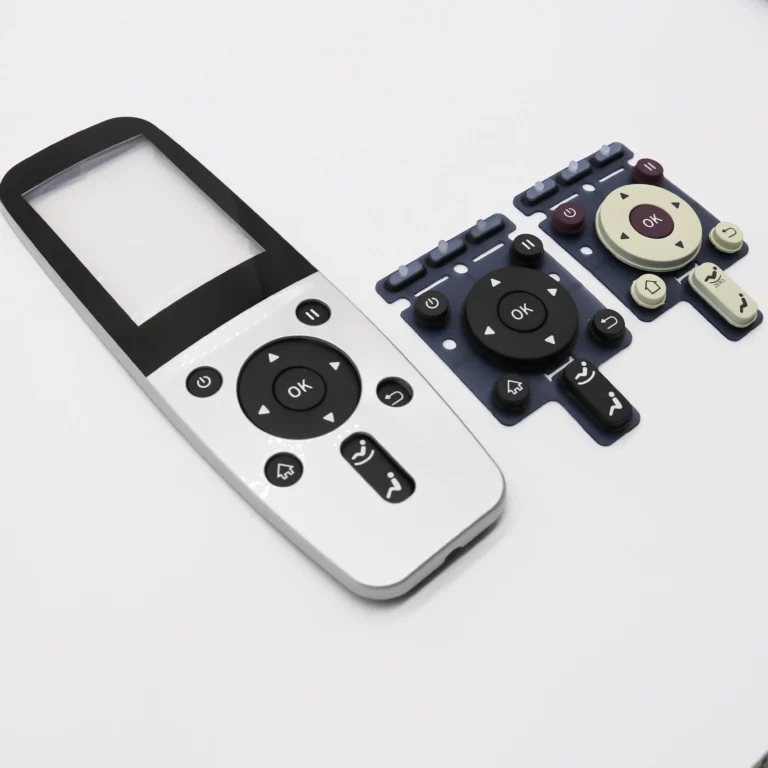
A keypad is one of the few parts on a product that a customer touches every time they use it, and it is one of the easiest to get wrong on a first order. The drawing says Shore A 50, the samples feel right, and the price is competitive. Then the first production batch arrives with keys that need noticeably different pressure from one another, legends that fade after a month of cleaning, and contact resistance that has drifted far enough to drop inputs. Nearly all of those failures trace back to choices made before any steel was cut. Buyers who already purchase other molded elastomer parts from a custom silicone keypad manufacturer will recognize most of this ground, because a keypad runs on the same presses, the same mold shop discipline, and the same batch traceability.
Sourcing custom silicone keypads comes down to five things you control before tooling starts: the durometer and web geometry that set the feel, the actuation force and travel window you will accept, the contact system that closes the circuit, the surface process that keeps legends readable, and an inspection plan your supplier can actually show you. Put numbers and tolerances on those five, and price, lead time, and field life all become predictable. Leave any of them to a supplier’s judgment, and you will find out what they picked about four weeks after the mold is finished.
The sections below walk through each decision, the tests that verify it, and the questions that separate a factory from a trading office.
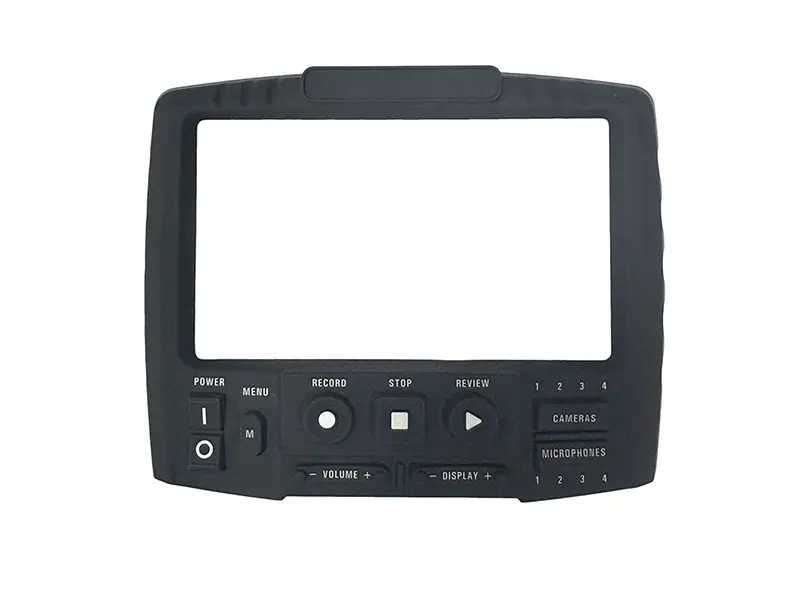
What a custom silicone keypad is and where it fits
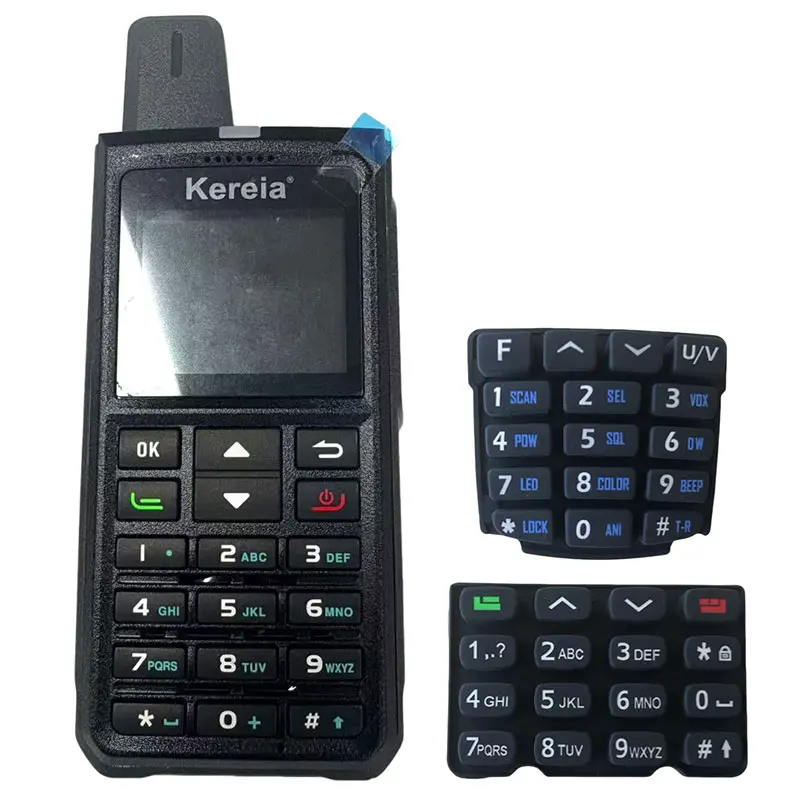
A custom silicone keypad is a single molded rubber sheet with raised keys, flexible webs that let each key move, and a conductive contact under every key. It belongs in products that need real key travel, a seal against dust or water, or a control an operator can find by touch without looking at it. It is the wrong answer when the entire stack above the PCB has to stay under roughly 1.5 mm.
Each key is a dome of silicone connected to the surrounding sheet by a thin angled web. Press the key and the web buckles, which is where the tactile snap comes from. Release it, and the web’s own elasticity pushes the key back. The thickness of that web, the height of the key, the shape of the dome, and the position of the contact underneath all decide whether the pad feels soft, firm, quiet, or sharply tactile.
The practical alternative is a membrane switch, a flat laminate of printed polyester layers. The two overlap in some products, but they are not interchangeable:
| Factor | Silicone keypad | Membrane switch |
|---|---|---|
| Key travel | 1.0 to 2.5 mm | 0.1 to 0.5 mm |
| Actuation force | 150 to 450 gf | 100 to 400 gf with a metal dome |
| Tactile source | Buckling of the molded web | Added polyester or steel dome |
| Service life | 1 to 10 million cycles | 0.5 to 5 million cycles |
| Temperature range | -50 to +200°C | -40 to +85°C |
| Achievable sealing | Up to IP68 with a molded seal | Up to IP67 with adhesive |
| Tooling cost | $3,000 to $25,000 | $1,000 to $10,000 |
| Per-key cost at 10,000 units | $0.08 to $0.35 | $0.03 to $0.15 |
Silicone wins when the product lives outdoors, gets washed down, gets used with gloves, or needs keys that can be found in the dark. Membrane wins when the panel has to be thin, the graphics are complex and full color, and the unit price matters more than the feel.
Contact options that close the circuit
Three methods put conductivity under a key, and they do not perform the same over a long service life.
- Molded-in carbon pill. A pre-formed conductive pill is placed in the mold before the silicone is loaded, and the two bond chemically during cure. This is the most durable option and accounts for most production keypads.
- Screen-printed conductive ink. Carbon- or silver-loaded ink is printed on the actuator peg and thermally cured. Silver inks reach low resistivity, but a printed layer wears faster than a solid pill.
- Post-mold-bonded pill or metal dome. Useful for prototypes because it allows design changes without cutting a new mold, though the adhesive interface becomes a failure point.
Where a silicone keypad cover earns its keep
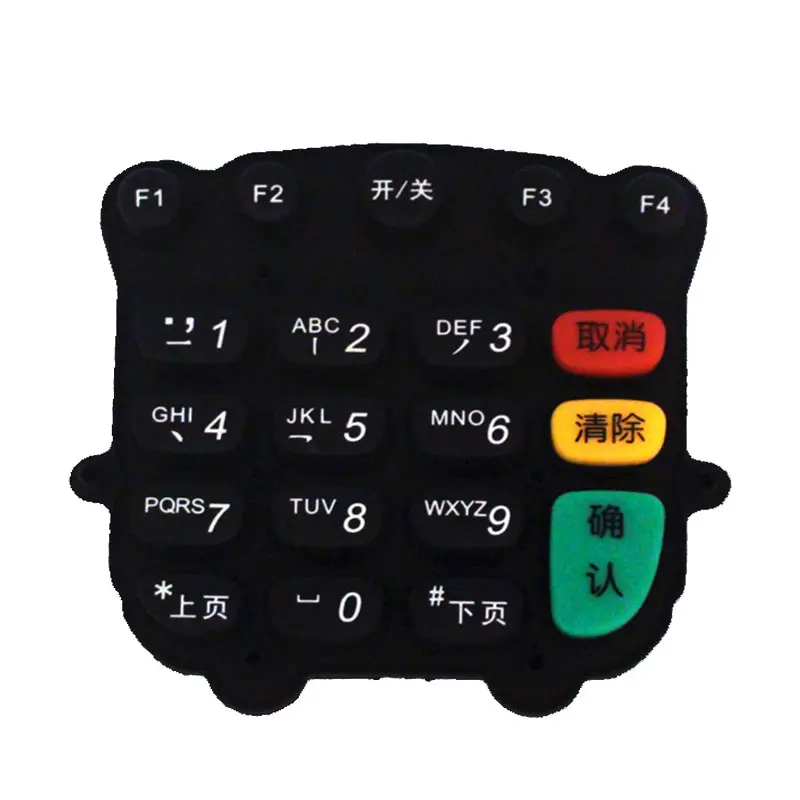
Some products do not need a full key mat. They need a one-piece silicone keypad cover over an existing switch array. The cover carries the printed graphics, spreads the press load across the switch underneath, and closes the surface against dust and liquid in a way a flat overlay with a die-cut hole cannot. It also gives you a wipe-clean surface with no seams where contaminants collect, which is why this construction shows up on medical carts, food processing panels, and handheld instruments that go through a cleaning regimen between shifts.
Specifications to lock before you ask for a quote
Before a file goes out for quotation, commit to numbers for durometer, actuation force, travel, snap ratio, contact resistance, and the dimensional tolerances that genuinely matter. A quote built on a vague drawing comes back low and then moves because the supplier priced a different part than the one you had in mind.
Durometer and tactile feel
Durometer is measured on the Shore A scale, and keypads normally run between 30 and 70 Shore A. Around 50 to 70 covers most tactile applications. A softer compound presses more easily and feels gentler under a thumb, but it returns less force, and the web works harder with every press, which shortens life. Harder compound gives a crisper snap and resists wear, but it tires a user who presses hundreds of times a shift.
Dual-durometer molding solves part of the conflict: a softer key top over a firmer base, molded in one cycle. It adds tooling complexity, so it is worth asking for only when the feel is a real product requirement rather than a preference.
Hardness should be verified per batch, not assumed. The common reference is ASTM D2240, and the drawing should state the target and the tolerance, for example, 60 ± 5 Shore A.
Actuation force, travel, and snap ratio
Actuation force is the peak force needed to buckle the web and close the contact. Travel is how far the key moves. The snap ratio compares the peak force to the contact force and describes how distinct the click feels. All three come off the same force-displacement curve, and they should be specified together.
| Demande | Typical actuation force | Pourquoi ? |
|---|---|---|
| Medical devices | 100 to 150 g | Soft touch, low fatigue over long procedures |
| Consumer remotes | 120 to 200 g | Quiet, light, high repetition |
| Automotive interior | 150 to 250 g | Resists accidental activation from vibration |
| Heavy industrial | 250 to 500 g | Confirmable through thick gloves |
Travel for a standard keypad mat usually sits between 0.5 and 1.5 mm. A snap ratio between 40 and 60 percent reads as a clear click without feeling stiff. Accepting a wide force band is the most common way buyers lose consistency: a spec written as “150 to 300 g” will produce keypads that feel correct individually and inconsistent as a set. A tighter band costs more to hold, and it is worth asking whether the supplier can hold it with data rather than with a promise.
Contact resistance and the PCB interface
Contact resistance is what turns a mechanical press into a signal. Under rated actuation force, a carbon pill contact typically measures 35 to 55 ohms, and a common acceptance limit is under 100 ohms, held after life cycling rather than only when the part is new.
The PCB side matters just as much. Interlocking finger patterns on the board keep contact reliable when a key is pressed slightly off center, and a gold-over-nickel finish keeps the surface from oxidizing over years of service. Resistance should be measured with a four-wire Kelvin method, because two-wire readings include lead and trace resistance and will read high.
How keypads are molded: Compression vs. LSR injection
Most keypads are compression molded from solid silicone gum stock or injection molded from liquid silicone rubber. Compression molding wins on tooling cost and suits low- to mid-volume. LSR injection wins on cycle time, tolerance, and consistency once annual volume passes roughly 50,000 units.
| Factor | Compression molding | Moulage par injection de LSR |
|---|---|---|
| Material form | Solid gum stock (HCR) | Two-part liquid |
| Cycle time per cavity | 90 to 300 seconds | 30 to 90 seconds |
| Mold temperature | 160 to 200°C | 140 to 180°C |
| Flash | Moderate to high | Minimal, closed-loop injection |
| Dimensional tolerance | ±0.10 mm | ±0.05 mm |
| Labor intensity | Higher, manual loading | Lower, automated |
| Tooling cost | $3,000 to $15,000 | $8,000 to $40,000 |
| Practical volume | 1,000 to 50,000 units | 50,000 to 1,000,000+ units |
Volume is not the only input. If the drawing holds a critical dimension at ±0.05 mm, compression molding will struggle to hold it consistently, and you will pay for that in scrap. If the keypad is a simple flat mat at 2,000 units a year, LSR tooling will never pay for itself.
One step applies to both routes and gets skipped more often than it should. Post-curing drives off volatile byproducts left from the cure system, stabilizes the physical properties, and reduces outgassing that can contaminate PCB contacts later. Skip it, and a keypad can measure fine on the bench and drift in the field.
Legends, coatings, and backlighting
Legends fail more often than keys do. The printing or etching method, and the coating over it, decide whether a keypad still looks presentable after two years of daily wiping, and this is where the cheapest quote usually hides its compromise.
Four processes put graphics on a keypad:
- Screen printing. Silicone-based ink was printed on the key top and cured. Cheapest below about 10,000 units, and each additional color adds a screen and a pass.
- Laser etching. A coating is selectively removed by a CO₂ or fiber laser to expose a contrasting base color. The legend cannot rub off because it is not a surface layer, which is why this method is standard on automotive and high-wear industrial panels.
- Spray coating plus laser. The whole surface gets a colored overcoat, then the laser exposes the base color underneath. This is the usual construction for backlit keypads.
- In-mold decoration. A pre-printed film is placed in the mold and bonds to the silicone during cure. It gives photographic-quality graphics at the cost of tooling complexity.
| Coating | Abrasion resistance | Chemical resistance | Finish |
|---|---|---|---|
| PU | Excellent | High | Matte to satin |
| Epoxy resin | Moderate | Excellent | High gloss, raised |
| Silicone hand-feel oil | Low to moderate | Moderate | Natural matte |
The coating choice follows the cleaning regime. A panel wiped with isopropyl alcohol several times a day needs PU or epoxy. A panel that only ever sees a dry hand can keep the uncoated silicone feel, which is softer under the finger.
Backlit construction
Backlighting needs a translucent base compound, an opaque coating that blocks light everywhere except the legend, and a light path that keeps one key’s LED from bleeding into its neighbor. The usual build is a molded translucent key, a spray-applied opaque layer, and laser-etched characters that let light through where the coating was removed. Molded light-blocking walls between keys do the rest of the work.
The failure mode is uneven illumination. Ask for a sample photographed in a dark room and a brightness measurement at each legend, not just a lit photo on a bench.
Quality control checkpoints that predict field life
Keypads fail in four predictable ways: the web tears, the snap fades, contact resistance drifts, or the legend wears off. A supplier’s inspection plan should have a test aimed at each one, with a number attached and a report you can request by name.
Incoming, in-process, and final inspection
A competent line runs four gates. Incoming inspection tests each compound batch for hardness, tensile strength, and specific gravity before it reaches the press. In-process inspection checks dimensions and appearance at set intervals during molding, printing, and coating. Final inspection is visual, usually 100 percent, under defined lighting. First-article inspection verifies critical dimensions against the drawing before a run is released.
What separates a mature system from a basic one is traceability: a batch number on the carton that ties back to the material lot, the press, the shift, and the inspection record.
Test matrix and acceptance criteria
| Test | Method | Typical acceptance |
|---|---|---|
| Dimensional, first article | CMM or optical measurement | Within drawing tolerance, often ±0.05 to ±0.10 mm |
| Actuation force and travel | Force-displacement with a hemispherical plunger | Within ±15 percent of nominal, or CPK of at least 1.33 |
| Contact resistance | Four-wire Kelvin underrated force | Under 100 ohms, commonly 35 to 55 ohms |
| Life cycle | Automated actuation at 2 to 3 Hz | 500,000 to 1,000,000 cycles with force loss under 10 percent |
| Abrasion | RCA tester or alcohol rub | No legend loss at the specified cycle count |
| Environmental | Thermal cycling, humidity, and salt spray as specified | No cracking, no resistance shift past limit |
Life cycle testing is the one worth insisting on. A keypad rated for a million presses that loses 30 percent of its force at 200,000 is a keypad that will generate complaints.
What to ask for with the samples
- Force-displacement curves for every key type, not a single pass or fail
- Capability data such as CPK values on critical dimensions, not just measurements
- Material certificates and RoHS or REACH statements tied to the actual lot
- A signed golden sample held by both sides before production starts
What an IP rating covers on a sealed keypad
An IP rating describes how well a finished enclosure resists dust and water, not how good the keypad is on its own. A molded keypad can support IP65, IP67, or better, but the number only means anything after the complete assembly has been tested.
The code has two digits. The first covers solids, from 0 to 6, where 5 means dust-protected with limited ingress and 6 means dust-tight. The second covers liquids, from 0 to 9, where 5 is water jets from a 6.3 mm nozzle at 12.5 liters per minute, 6 is powerful jets from a 12.5 mm nozzle at 100 liters per minute, 7 is immersion up to 1 meter for 30 minutes, and 8 is continuous immersion at a depth the manufacturer specifies.
The part buyers get wrong is that the levels are not cumulative. A unit rated IP67 was tested for dust and for temporary immersion; it was not necessarily tested against water jets. If the product will see both a hose and a splash, the rating needs to read IP65/IP67.
A keypad contributes a molded sealing lip or a one-piece cover, but the rating belongs to the assembly. Housing flatness, gasket compression, screw torque, and the cable exit all matter as much as the rubber. Test the real stack.
How to evaluate a silicone keypad manufacturer
Judge a supplier on what they can show. An in-house tool room, force and life test data from their own bench, material traceability by lot, and a written inspection plan are hard to fake. Brochures and certificates are easy; a capability report from the last job is not.
- Tool room. Do they design and cut molds in-house or broker them out? In-house CNC and EDM shorten the loop when a first trial shows a flow mark or a flash problem. Ask who owns the tool and what happens to it after the program ends.
- DFM feedback before tooling. A good engineer will come back with comments on web thickness, draft angle, venting, and gate location. Silence at this stage usually means the drawing was accepted, not reviewed.
- Test equipment on site. Force gauge, life cycle rig, abrasion tester, and optical measurement. If every test is outsourced, results arrive late and only when someone asks.
- Traceability. Batch numbers tied to material lots and production dates. This is what makes a root-cause analysis possible a year later.
- Certifications matched to your industry. ISO 9001 is the baseline. Automotive programs expect IATF 16949, medical programs expect ISO 13485, and most markets expect RoHS and REACH documentation on the compound.
- Secondary operations in house. Printing, coating, laser etching, and assembly. Each one outsourced adds a handoff, a lead time, and a place for quality to slip.
- Willingness to document. Ask for a sample first-article report. The response tells you more than any capability list.
Tooling, MOQ, and lead time
Two tooling paths exist, and picking the wrong one is expensive in both directions. A soft aluminum tool costs less and runs 5,000 to 10,000 cycles, enough for validation and early production. A hardened steel tool, typically S136H at 48 to 52 HRC, runs 500,000 to 1,000,000 cycles and holds tolerance through a long program. Many programs start soft, are validated, and then convert to steel once the design is frozen.
Minimum order quantities usually land between 500 and 1,000 pieces, and that floor is not arbitrary. It comes from four costs that do not shrink with the order:
- Tooling amortization. A mold at $3,000 to $5,000 adds $3 to $10 per unit across 500 pieces and $15 to $50 across 100.
- Compound minimums. Color-matched silicone is mixed by batch, often with a 5 to 10 kg minimum per color.
- Machine setup. Mold mounting, temperature stabilization, and first-article approval cost the same for 500 pieces as for 5,000.
- Secondary operations. Printing, coating, and laser work each carry fixture and line-change costs.
Lead time breaks down as roughly 2 to 4 weeks for tooling, 3 to 7 days for first samples, and 2 to 3 weeks for production. One lever is worth knowing: relaxing a noncritical tolerance from ±0.05 mm to ±0.10 mm can cut mold cost by about 20 percent because it removes finishing operations from the cavity.
FAQ
How long does a silicone keypad mold last in production?
A hardened steel mold for a keypad typically runs 500,000 to 1,000,000 cycles before it needs refurbishment, which at moderate volumes is many years. Aluminum prototype tooling lasts 5,000 to 10,000 cycles. The mold is usually not the limiting factor; the compound, the press schedule, and how well the tool is maintained between runs decide how long it stays in tolerance.
Can a keypad be reproduced from a physical sample instead of a drawing?
Yes. A competent mold shop can measure an existing part, reverse the web geometry, and produce a 2D or 3D drawing for approval. The risk is that the copy inherits the original’s hidden choices, including a durometer or a web thickness that was never documented. Before cutting steel, measure the sample’s hardness and force-displacement curve, then decide whether the original feel is what you actually want to reproduce.
What causes printed legends to wear off, and how is it prevented?
Wear comes from three directions: abrasion from a thumb or a glove, chemical attack from cleaning agents, and insufficient cure or adhesion of the ink to the silicone. Prevention is a combined choice rather than a single fix. Laser etching removes the problem by putting the legend below the coating; a PU or epoxy coating puts a sacrificial layer over a printed legend, and a specified alcohol-rub test at a defined cycle count verifies that the combination survives the cleaning regime the product will actually see.