A silicone seal looks like a simple part: a strip, a ring, or a flat gasket. It is also one of the harder parts to make by hand, because every flaw on the finished seal—a bubble, a torn edge, a matte patch, a line of flash—was decided inside the mold before the rubber entered the cavity.
Making a silicone seal comes down to three things: seal the box so liquid silicone cannot escape, pour slowly enough that air leaves the cavity, and treat the cured surface as the finished surface, because the mold reproduces every mark it is given. Geometry comes first, since it decides whether you need a one-piece pour, a two-piece mold, or no mold at all. Below is a hand-poured workflow from master model to demolded part, followed by a comparison with two-piece molds and injection molding. If you need production parts rather than a workshop sample, a custom silicone seal manufacturer is the next step once a prototype is approved.
The sections follow the order of operations, because a mistake made early always shows up late.
What your seal shape decides about the mold
Geometry comes first, because it sets the wall thickness you can afford, the draft angle you need for release, and whether the part can be pulled straight off the master. A continuous profile with a fixed cross-section is a different production problem from a closed ring and different again from a wide flat panel. Deciding early prevents the most common mistake: pouring a thin-walled mold around a shape that cannot be released from it.
| Seal type | Typical geometry | Wall thickness thinking | Practical process |
|---|---|---|---|
| Silicone seal strip or silicone seal tape | Continuous profile, fixed cross-section, cut to length | Thin and even; thickness comes from the profile itself | Extrusion, or a one-piece mold for short runs |
| Silicone seal ring | Closed circular loop | Uniform wall around the full circumference | One-piece mold if draft allows; otherwise, two-piece or injection molding |
| Silicone seal gasket | Flat or contoured panel, large sealing area | The thin panel needs rigid backing or a thicker wall | Two-piece mold, or compression and injection molding in volume |
Strip and tape profiles change the economics more than the technique. Any length works once you have a die, so continuous extrusion fits them naturally, and a workshop mold only makes sense for samples.
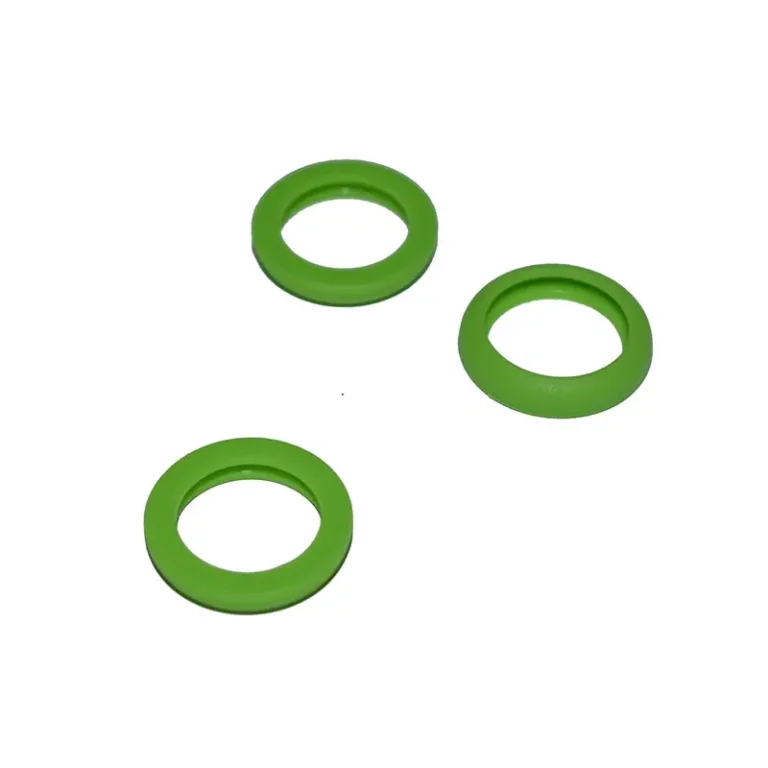
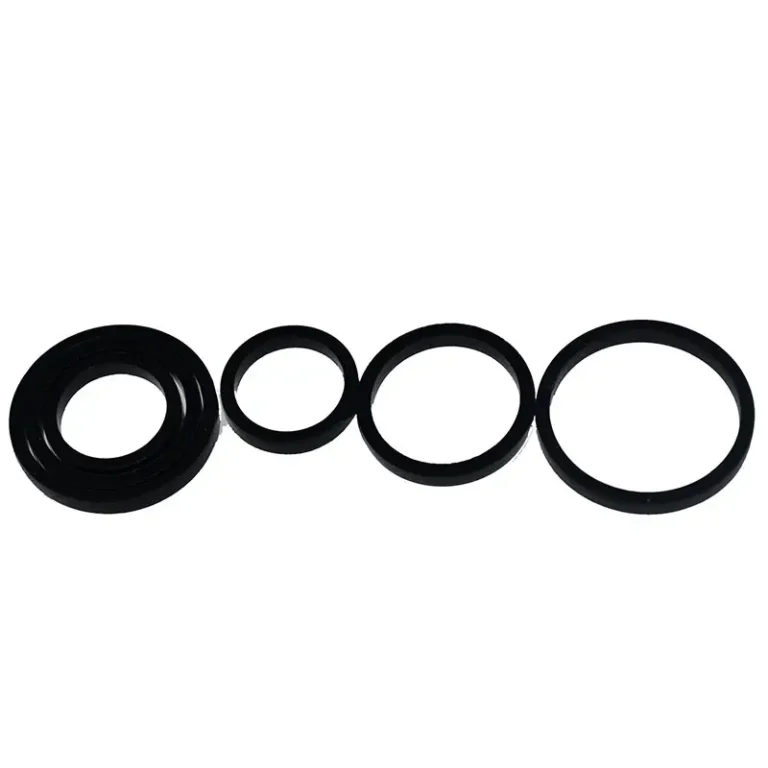
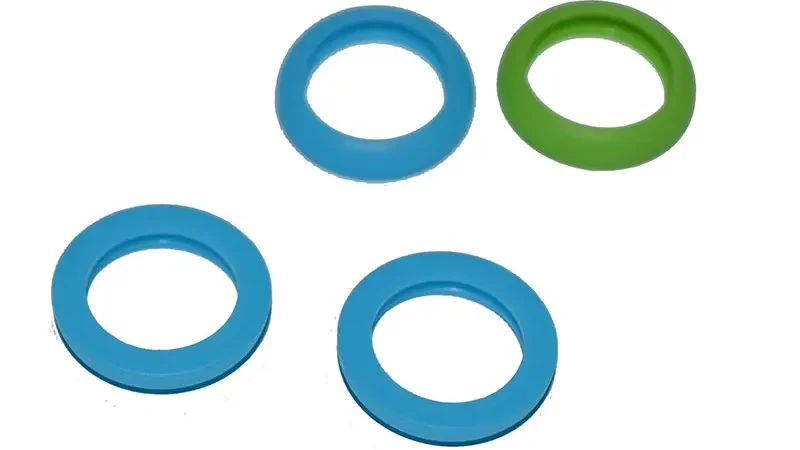
Rings are constrained by release rather than by length. A circular cross-section with draft on both sides will come out of a one-piece mold, while a profile with an inward lip locks the mold shut, so the part has to be split across a parting line and cast in two halves. For a ring with a specific size and cross-section, the Custom Silicone Rubber O-Ring for Sealing covers the geometry decisions in more detail. Flat gaskets seal across an area rather than a line, so a thin unsupported wall bulges outward under pressure and needs a rigid frame behind it.
Sealing the mold box so nothing leaks
A leak ruins the whole pour, and neither a longer cure time nor a better release agent will recover it, so the box gets sealed before anything else. Liquid silicone finds every gap, and a seam that looks tight when the box is dry can open under the weight of a full pour.
- A hard, flat base. Anything that flexes distorts the cavity as the silicone settles.
- A non-porous interior. Particleboard and unfinished wood absorb liquid and drag the silicone out of shape.
- Roughly 10 mm of clearance on every side. This becomes the mold wall, and a thin wall tears during demolding.
- A flat lid or clamping edge, so the box can close without the silicone pushing the panels apart.
The joints are where leaks actually start:
| Sealing method | Works well for | Watch out for |
|---|---|---|
| Clay pressed into the seams | Irregular boxes, non-critical prototypes | Slumps under pressure; keep it clear of the cavity interior |
| Hot glue | Fast, cheap repairs of rigid gaps | Adds uneven thickness and is hard to remove if the box is reused |
| Silicone tape or a gasket strip | Clean, repeatable seams over many pours | Must sit flat, or it creates the very channel it should close |
| A rigid box with a lid | Repeat work | Needs a gasket on the sealing face or a lip that indexes the position |
Position the master on a bed of clay so it cannot float when you pour, and bridge any overhang with a support peg. Keep at least 10 mm of silicone above the highest point of the model, and add a chamfer at the box edge so you have somewhere to insert a flat tool and open the halves without levering against a wall.
Mixing and pouring without trapped air
Air is the most common reason a silicone seal comes out with a defect, and it is far cheaper to keep it out than to repair afterward. A bubble freezes into the wall exactly where material was needed, and the only remedy is cutting it out and filling it, which leaves a scar.
- Weigh by weight. Most two-part silicones use a 1:1 ratio, but 10:1 and 100:2 are also common. A digital scale with 0.1 g resolution is the cheapest insurance in the workshop; measuring by eye is the most common cause of rubber that never cures properly.
- Mix slowly for 3 to 5 minutes, in a cross pattern, scraping the sides and bottom twice. High-speed mixing folds air into the batch faster than anything else you do.
- Let it rest for 5 to 10 minutes. Bubbles rise and break on their own.
- Degas if you can. A vacuum chamber at about −0.1 MPa for 2 to 3 minutes pulls out what resting cannot. A pressure pot or vibrating tool works where no chamber is available.
- Brush a thin coat onto the master first. A small round brush pushes rubber into fine detail and corners, where trapped air would otherwise sit.
- Pour from the lowest point in a narrow stream, starting in one corner, letting the silicone find its own level and push air ahead of it.
- Tap the box after the pour. A few sharp taps on the side, or a few seconds on a vibrating surface, releases bubbles against the wall.
What can go into a silicone mold?
Silicone molds accept more casting materials than most people expect, but the temperature, weight, and shrinkage of the casting material decide whether the mold survives the pour. The silicone’s own temperature rating is only one of three limits, and it is rarely the one that fails first.
Concrete and cement castings
Yes. The mold is flexible enough that the cast releases without the beating a rigid form takes, and cement captures fine surface detail.
The constraint is weight. Wet concrete is heavy, and a thin silicone wall bulges outward under it, so open-top molds need a support ring of about 25 mm board or a snug cardboard collar around the outside. Mix in small batches so nothing starts setting mid-pour, strain out large lumps, and pour slowly into the lowest corner. Expect 24 to 48 hours before demolding and about 28 days to full strength, with early cure in moderate conditions, roughly 15 to 27°C, out of direct sun and wind. Demolding is a flex, not a pry: bend the mold edges outward and peel it back by hand, because prying with a tool tears thin sections.
Hot liquids and heated materials
Yes, within limits. Silicone rubber is stable across a wide band—commonly quoted from around −65°C up toward 400°C depending on the formulation—and that range is why silicone molds are used for wax, chocolate, and baked goods.
The practical limit is the temperature of what you pour, not the theoretical maximum of the rubber. Exothermic liquid resin releases heat as it cures, and a thick pour in a deep mold holds that heat in the center. Pouring material above the comfortable working range shortens mold life even when the rubber tolerates it, so test a small patch first with hot material, and keep pours thin enough for heat to escape.
Silicone poured into silicone
Yes, but you need a barrier between the two. Fresh liquid silicone bonds to cured silicone by design—the chemistry is the same on both sides, and that is the property that lets you repair a torn mold by adding material to it. Casting a new silicone part inside an existing silicone mold means interrupting that bond.
Seal first, release second. Apply a sealing coat to any porous surface, since silicone sinks into open-pore plaster, dry concrete, and unfinished wood and locks the surface permanently. Then apply a release agent that does not contain silicone, because silicone-based release acts as a bonding primer on the surface you are trying to separate. Wax, petroleum jelly thinned with mineral spirits, or a dedicated non-silicone release all work. The same logic applies when pouring the second half of a two-piece mold over the first.
Cure time before you demold.
Demold on feel rather than on the clock, because undercured rubber tears and drags instead of releasing cleanly. The times below are typical room-temperature ranges; the label on your specific product takes precedence.
| Silicone type | Skin over time | Full cure at room temperature | Notes |
|---|---|---|---|
| Pourable platinum-cured | 5 minutes to a few hours | 4 to 8 hours | Lowest shrinkage, strong detail reproduction |
| Potable, tin-cured | 5 minutes to a few hours | 8 to 16 hours | Cheaper, more shrinkage over time |
| RTV silicone | Varies by formulation | 16 to 24 hours | Check the specific product data. |
| Kneadable putty | Rapid | Under 20 minutes | Two parts mixed by hand in equal amounts |
Press a fingernail into a thick section away from the cavity before you commit: if it dents, if the surface still feels tacky, or if a lifted edge stretches into a thread instead of snapping, the mold is not ready.
Remove the cured mold slowly. Peel back from one edge rather than levering from several points at once, and separate a two-piece mold along the parting line with a light rocking motion. Flexing matters more than strength: a mold pulled off with a sharp tug will distort, and that distortion shows up in every part cast from it afterward.
Surface finish, where the visible quality comes from
The mold surface is the seal surface, so whatever the rubber touches becomes the finish you have to live with. No step after curing reliably hides a coarse master or a smeared release film.
Details the mold will copy
Layer lines, support marks, scratches, sanding swirl, and dust all transfer at full contrast. Preparing the master matters more than anything done later, so polish it before silicone touches it, and orient printed geometry so no support marks sit on a sealing surface. Translucent silicone is worth choosing for a first mold because you can see trapped air and incomplete filling against the master while there is still time to fix it.
Release agent thickness
A thin, even film is the target. Too much release floods the fine detail, softens the surface, and can transfer onto the cast as a matte or greasy film. Apply release to the interior of the box as well as the master, give it roughly 10 minutes to dry, and apply it again before every pour, not just the first. Avoid release agents containing silicone, and avoid sealing coats containing alcohol, since both promote bonding instead of preventing it. On porous masters, seal first with an acrylic spray, a wax, or petroleum jelly thinned with mineral spirits, keeping brush marks off the surface since the rubber will find every one.
Trimming and finishing
Trim the flash along the parting line with a knife or scissors once the part is out. Silicone can be sanded and polished, though a well-finished master always beats a well-finished part.
For anything that will touch food, check the material safety data sheet for the specific grade rather than relying on a general claim of food safety. Federal requirements add another layer in the United States: 21 CFR § 177.2600 covers rubber articles intended for repeated food contact, lists several classes of silicone elastomer among the permitted basic polymers, and sets extraction limits by food type. For aqueous food, total extractables may not exceed 20 mg/in² over the first 7 hours and 1 mg/in² for the following 2 hours; for fatty food, extraction with n-hexane is limited to 175 mg/in² over 7 hours and 4 mg/in² for the next 2. Being made of silicone rubber does not by itself make a seal compliant.
When hand-poured molds stop being the right answer
Four variables decide whether hand-pouring is still sensible: quantity, geometric complexity, tolerance, and repeatability. Miss any one of them badly enough and a workshop mold becomes the bottleneck rather than the solution.
| 因子 | Hand-poured one-piece | Two-piece mold | Injection molding |
|---|---|---|---|
| 金型費用 | 低 | 低~中程度 | Higher, with metal tooling |
| Time for the first part | Hours | About a day | Weeks |
| Geometry possible | Flat, one-sided shapes | Undercuts, 90° features | Internal undercuts, thin walls, complex sections |
| 寸法公差 | Loose, operator-dependent | Better with registration features | Tight and repeatable |
| Batch consistency | 低 | Medium | 高い |
| Best use | Sample and fit checks | Small batches of solid parts | Repeat production runs |
Keep hand-pouring when the purpose is to confirm a design, the geometry is simple, the quantity is a handful, and the seal does not need to meet a controlled tolerance. Move to a production process when the order is measured in dozens rather than single digits, when a seal has to interchange with a molded housing, when the part needs two materials or colors in one piece, or when every unit must behave the same way.

よくある質問
What Shore A hardness should I choose for a silicone seal?
Silicone rubber spans roughly 20 to 80 Shore A, and the number that matters is the one that keeps the seal compressed in its groove for the life of the assembly. Around 30 to 50 Shore A conforms well to slightly irregular surfaces and is a common default for extruded strip and tape profiles. Softer material seals better on a wide gap but is easier to tear during installation and more prone to extruding into a tight gap under pressure. Above roughly 60 Shore The material resists extrusion and holds a defined shape, but it also transmits more force to the mating surface. Match the hardness to the gap and the compression the joint allows rather than to the softest material that would fit.
Can a damaged silicone mold be repaired instead of remade?
Small damage can be repaired, and silicone’s bonding behavior makes this practical. Clean the cut or hole, dry it thoroughly, and fill it with a low-viscosity or brushable liquid silicone using the same catalyst system as the original rubber. Cure it fully, then trim the excess back to level. Repairs along the edge of a cavity work well; repairs on a load-bearing wall need a larger patch, because the thin edge will be the first thing to fail next time. Replace the mold when the detail is gone across a broad area or when tears have spread along a parting line.
How long should a silicone seal mold last before it needs replacing?
There is no fixed number, because life tracks wall thickness, geometry, demolding frequency, and how carefully the mold is handled. A wall poured at the recommended 10 mm and demolded slowly will last far longer than a thin, deep mold that gets pried open each cycle. Clean after every use with warm water and mild detergent, and dry completely before storing, since residual moisture against rubber leads to sticking. Store flat or suspended in a cool place away from direct sunlight, and do not stack heavy objects on top, which causes permanent deformation.